Activities
Valentines Day Crafts and Free Valentines Day Printable Coloring Pages
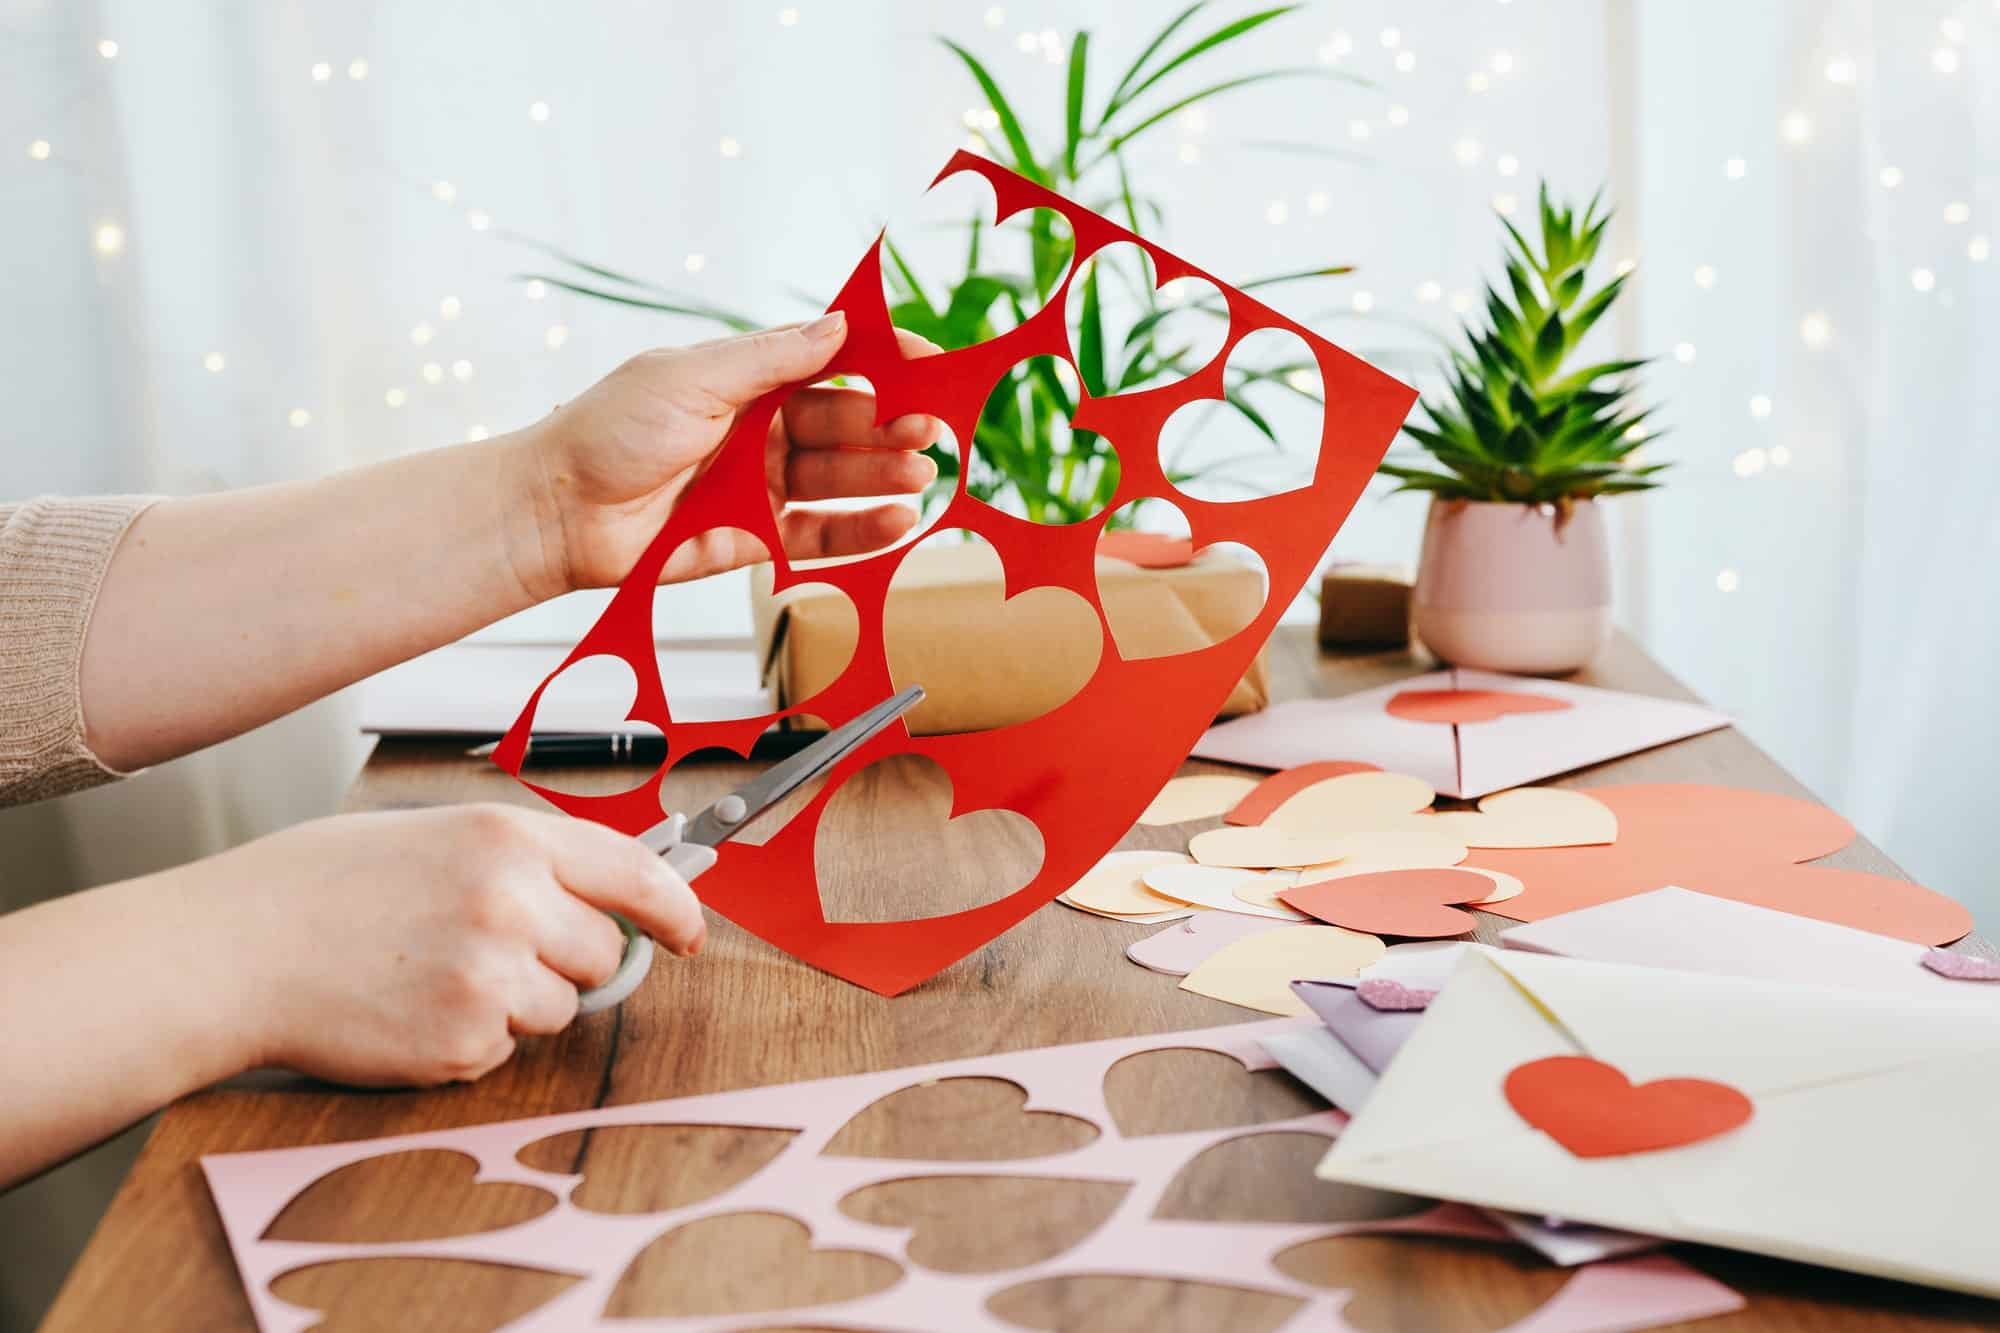
Making a paper heart is a simple and delightful craft that you can enjoy on various occasions, especially during Valentine’s Day or when expressing love to someone special. Here’s a step-by-step guide on how to make a paper heart:
Materials Needed:
- Colored paper (choose a color you love)
- Scissors
- Pencil
- Ruler (optional)
- Glue (optional)
Steps:
1. Choose Your Paper:
- Select a sheet of colored paper. The color can be traditional red or any color you prefer.
2. Cut a Square:
- Using your scissors, cut a square from the paper. The size of the square will determine the size of your paper heart. A good starting size is around 6 inches by 6 inches (15 cm by 15 cm).
3. Fold the Square in Half:
- Fold the square in half diagonally, creating a triangle. Ensure that the edges align perfectly to create a crisp fold.
4. Mark the Center Point:
- With the folded side facing you, use a pencil to mark the center point along the open edge of the triangle. This will serve as a guide for your next folds.
5. Fold the Right Corner:
- Take the right corner of the triangle and fold it towards the center point you marked. The edge should align with the center.
6. Fold the Left Corner:
- Repeat the process with the left corner, folding it towards the center and aligning it with the marked point. This creates a shape resembling a kite.
7. Fold the Bottom Edge:
- Fold the bottom edge of the kite shape upwards, creating a small triangle at the bottom.
8. Tuck the Bottom Corners:
- Tuck the bottom corners of the triangle behind the folded edges, forming the rounded bottom of the heart.
9. Define the Heart Shape:
- Open up the folds, and you’ll see a heart shape emerging. Adjust the folds and creases until you achieve the desired heart shape.
10. Optional: Glue the Edges (if needed):
- If you want a more secure heart or if you’re using a lightweight paper, you can apply a small amount of glue along the edges to keep the heart in shape.
11. Personalize (Optional):
- Get creative! You can personalize your paper heart by adding drawings, writing a message, or even decorating it with glitter.
Now you’ve successfully crafted a paper heart! Whether you’re using it for decoration, as a gift, or just as a symbol of affection, this handmade paper heart adds a special touch to any occasion.
Creating an arrow cutout is a simple and enjoyable craft that you can use for various DIY projects or decorations. Here’s a step-by-step guide on how to make an arrow cutout:
Arrow Tutorial
Materials Needed:
- Colored paper or cardstock
- Pencil
- Ruler
- Scissors
- Glue (optional)
Steps:
1. Gather Your Materials:
- Ensure you have all the necessary materials, including colored paper or cardstock, a pencil, a ruler, and scissors.
2. Choose Your Paper:
- Select the colored paper or cardstock you want for your arrow. You can choose a traditional color or get creative with patterns and designs.
3. Draw the Arrow Shaft:
- Use a pencil and ruler to draw a straight line for the arrow’s shaft. This line will determine the length of your arrow.
4. Draw the Arrowhead:
- At one end of the line, draw a triangle to form the arrowhead. You can make it as large or small as you prefer, depending on the desired size of your arrow.
5. Draw the Feathers (Fletching):
- From the other end of the line, draw two lines extending outward at an angle. These will become the feathers or fletching of the arrow. The length of these lines is up to you, depending on how long you want the feathers to be.
6. Connect the Feathers:
- Connect the ends of the feather lines to the arrow shaft, creating a tail-like appearance. This completes the basic outline of your arrow.
7. Refine and Adjust:
- Use your pencil and ruler to refine the arrow’s shape. Ensure that the lines are straight, the angles are even, and the overall design looks balanced.
8. Cut Along the Outline:
- Carefully cut along the pencil lines to create your arrow cutout. Take your time to achieve clean and precise edges.
9. Optional: Create Multiple Arrows:
- If you’re making a set of arrows, repeat the process to create as many arrow cutouts as you need.
10. Optional: Add Details (if desired):
- Get creative by adding details to your arrow cutouts. You can use additional colored paper to create designs on the shaft or arrowhead. Glue can be used to attach these details securely.
11. Arrange and Display:
- Once you have your arrow cutouts, arrange them as desired. You can use them for crafting projects, decorations, or even as part of a themed display.
Now you’ve successfully crafted arrow cutouts that you can use for various creative purposes! Feel free to experiment with different colors, sizes, and designs to make the arrows uniquely yours.
Enjoy these free Valentines Day Coloring Page Printables below:
Coloring Pages with different themes for different ages Visit Here
For the cutest Valentine’s Day Worksheets click here