Activities
Creative Play: Making and Playing with Clay with Kids
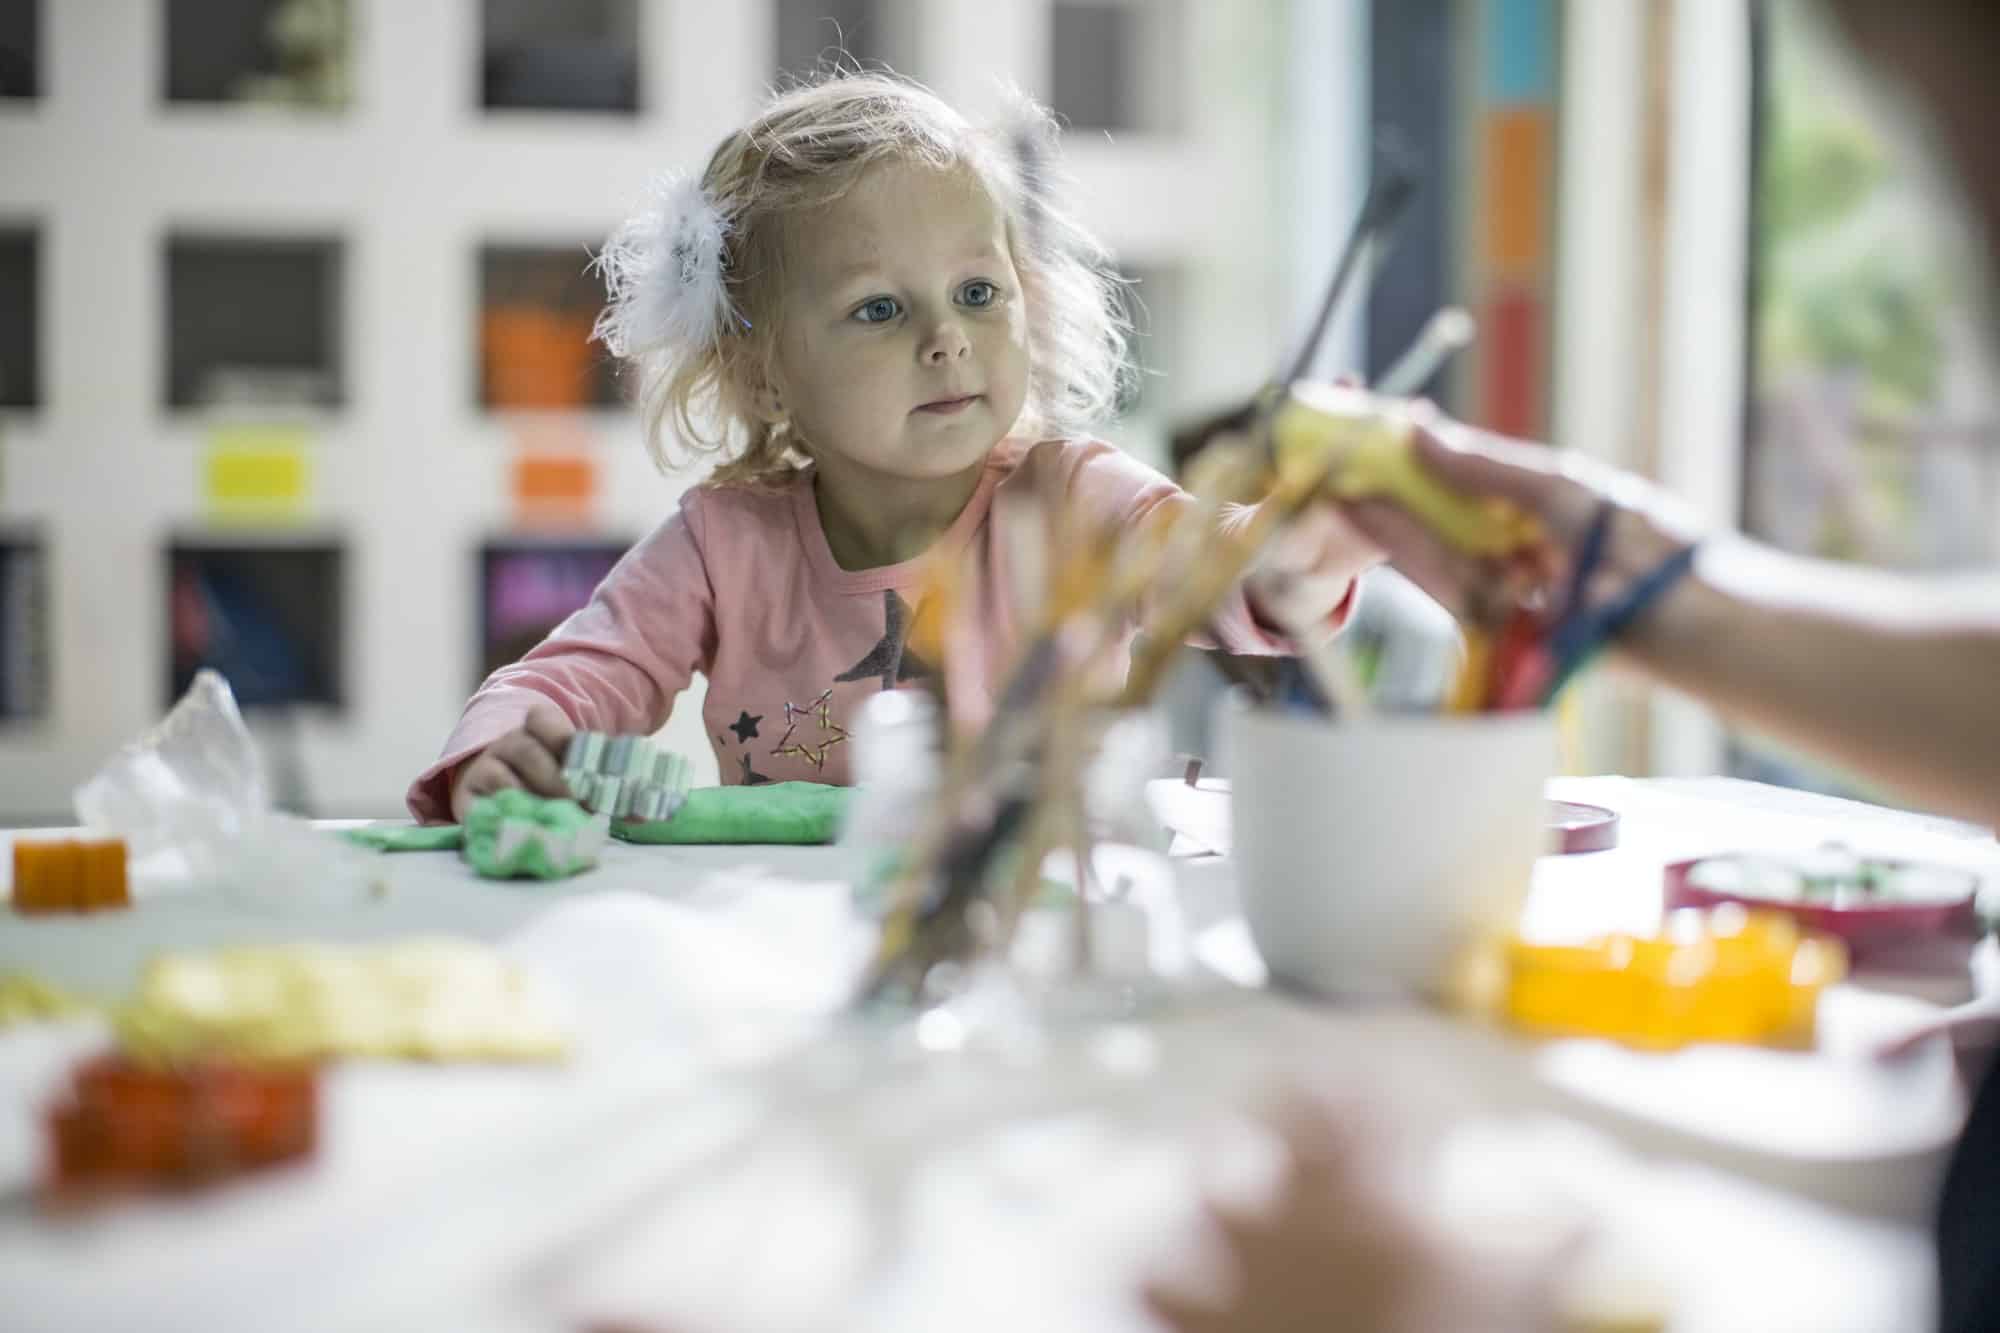
Engaging in hands-on, sensory activities is not only a delightful way for children to express their creativity but also an opportunity for them to explore and develop essential motor skills. Working with clay provides a fantastic avenue for kids to unleash their imagination, sculpt unique creations, and enjoy the tactile experience of molding and shaping. In this article, we’ll explore the joys of making and playing with clay with kids, along with three easy-to-follow clay recipes that promise hours of creative fun.
The Benefits of Clay Play for Kids:
- Enhanced Fine Motor Skills: Manipulating clay helps children refine their fine motor skills as they pinch, roll, and shape the material. These activities promote hand-eye coordination and dexterity, crucial for various daily tasks and future academic pursuits.
- Expressive Creativity: Clay provides an open canvas for children to express their creativity freely. It encourages them to think outside the box, visualize ideas, and transform their imagination into tangible, three-dimensional creations.
- Sensory Stimulation: The tactile nature of clay engages a child’s senses, providing a sensory-rich experience. Feeling the texture of the clay, smelling its earthy aroma, and observing the vibrant colors stimulate sensory exploration, fostering a deeper connection with the material.
- Cognitive Development: Sculpting with clay involves problem-solving and planning. Kids learn to think spatially as they navigate the dimensions of their creation, fostering cognitive development and critical thinking.
- Emotional Expression: Clay play offers an emotional outlet for children. They can channel their feelings into their creations, whether it’s crafting characters that represent emotions or expressing joy through colorful sculptures.
Clay Recipes for Creative Play:
- Homemade Playdough: Ingredients:
- 2 cups all-purpose flour
- 1 cup salt
- 4 tablespoons cream of tartar
- 2 tablespoons vegetable oil
- 2 cups boiling water
- Food coloring (optional)
- Glitter (optional)
- Salt Dough: Ingredients:
- 2 cups all-purpose flour
- 1 cup salt
- 1 cup water
- Modeling Clay: Ingredients:
- 1 cup baking soda
- 1/2 cup cornstarch
- 3/4 cup water
Let the sculpting, molding, and laughter commence!